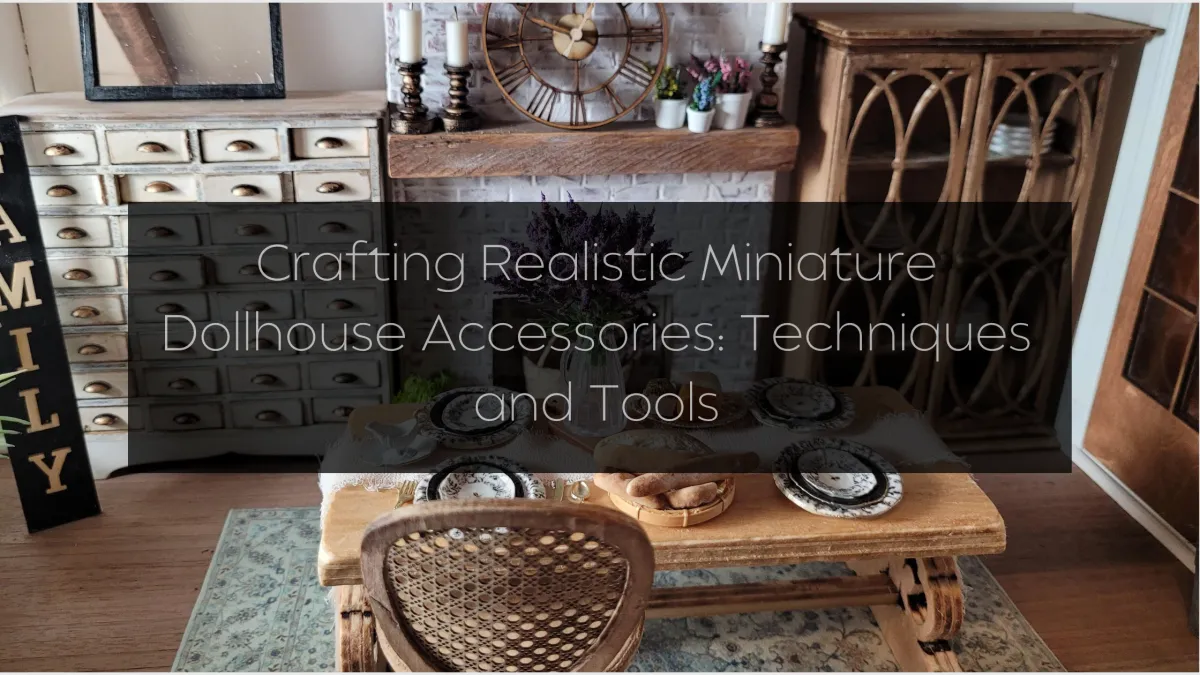
Crafting Realistic Miniature Dollhouse Accessories: Techniques and Tools
When it comes to miniature dollhouse accessories, the magic lies in the details. Whether it’s a tiny vintage vase, a stack of miniature books, or a perfectly aged kitchen pot, these small details breathe life into your dollhouse and leave viewers marveling at their realism. In this guide, we’ll explore tried-and-true techniques and must-have tools that make crafting these accessories an enjoyable and rewarding experience. By the end, you’ll feel inspired to elevate your creations from simple miniatures to works of art.
Techniques for Crafting Stunning Miniature Dollhouse Accessories
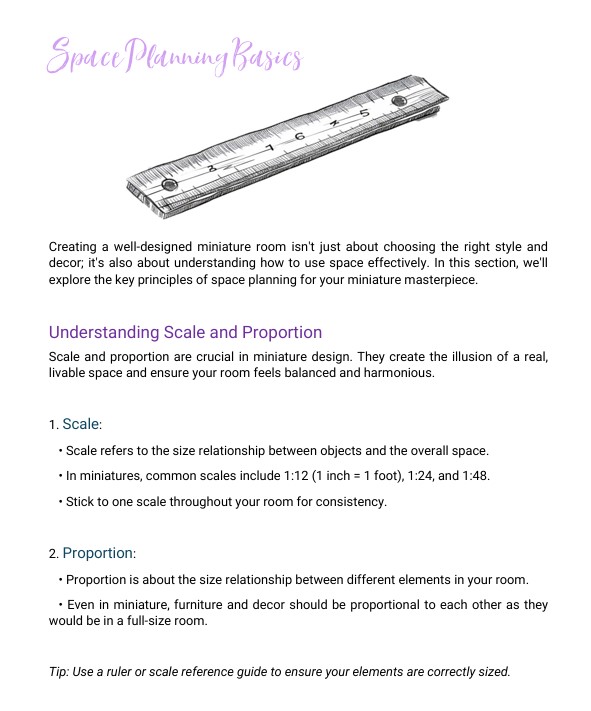
1. Mastering Scale and Proportions
Before you begin, always double-check your measurements. Understanding the right scale—usually 1:12 for most dollhouses—is essential for creating accessories that look proportional within your miniature scenes. For instance, a 6-foot-tall bookshelf in real life would translate to a 6-inch-tall miniature.
Ready to create your dream dollhouse?
Download my eBook Design Your Dream Dollhouse Decor for easy step-by-step guides and tips to craft stylish miniature spaces.
2. Layering for Realism
Add depth and dimension to your accessories by layering materials. For example, when making miniature books, use textured cardstock for covers and slightly distressed paper for pages to mimic aged books. Similarly, for faux food, use polymer clay with shading techniques to create realistic textures.
Pro Tip: Keep your layers thin to avoid a bulky look.
3. Adding Texture with Everyday Items
Household items can be a goldmine for miniature crafting. Toothpicks, aluminum foil, and even coffee grounds can be used creatively. For instance:
Toothpicks make excellent paintbrush handles.
Aluminum foil is great for creating crumpled textures in metallic accessories.
Coffee grounds can mimic soil for miniature flower pots.
4. Painting and Weathering Techniques
The right paint job can take your accessories to the next level. Use acrylic paints for vibrant colors and experiment with dry brushing to add an aged or distressed effect. To make your accessories look well-loved, use weathering powders to highlight crevices and edges.
Common Mistake to Avoid: Overloading your brush with paint. Always start with light layers.
5. Precision Cutting with the Right Tools
Invest in precision tools like craft knives, scissors, and cutting mats to achieve clean cuts. For advanced projects, consider using a laser cutter, like an xTool P2, for intricate designs.
Who doesn’t love mini templates? Access exclusive tutorials and SVG files designed to help you craft jaw-dropping miniature dollhouse accessories.
Essential Tools for Miniature Dollhouse Accessories
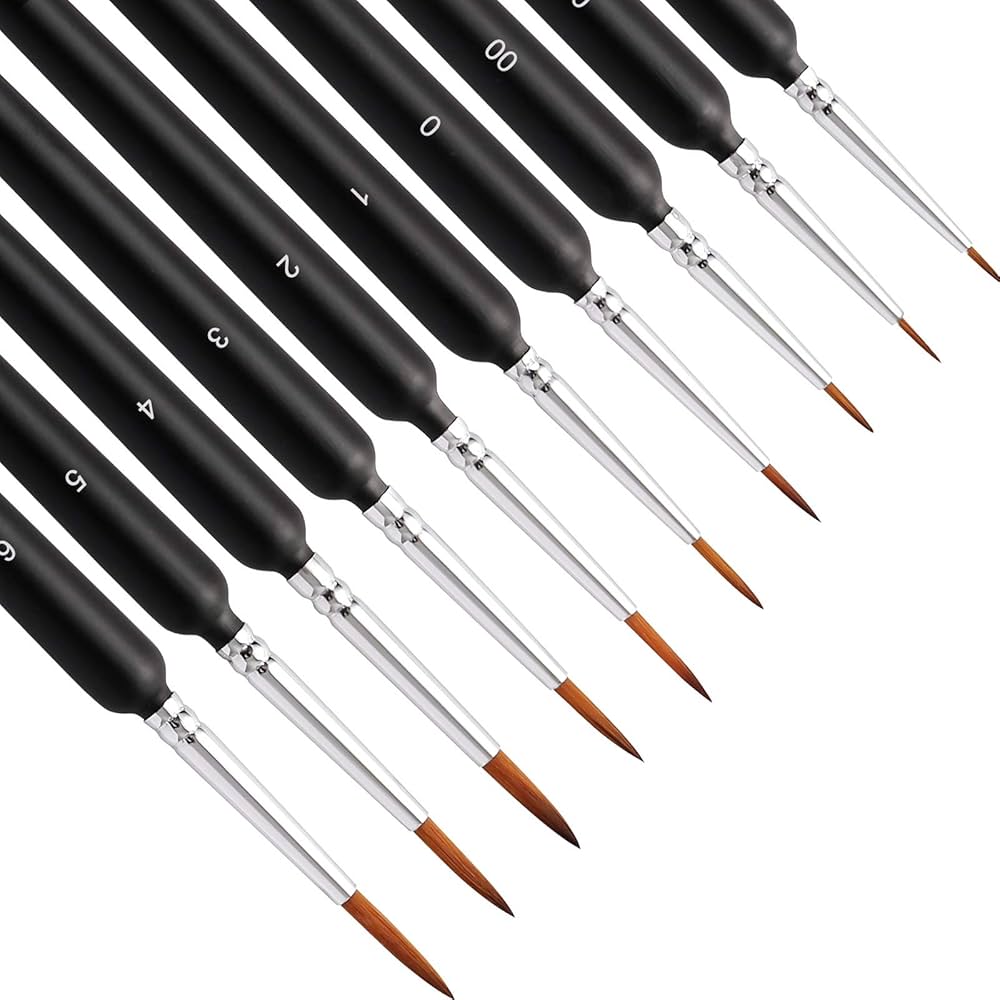
Fine-Tip Brushes: Ideal for painting tiny details.
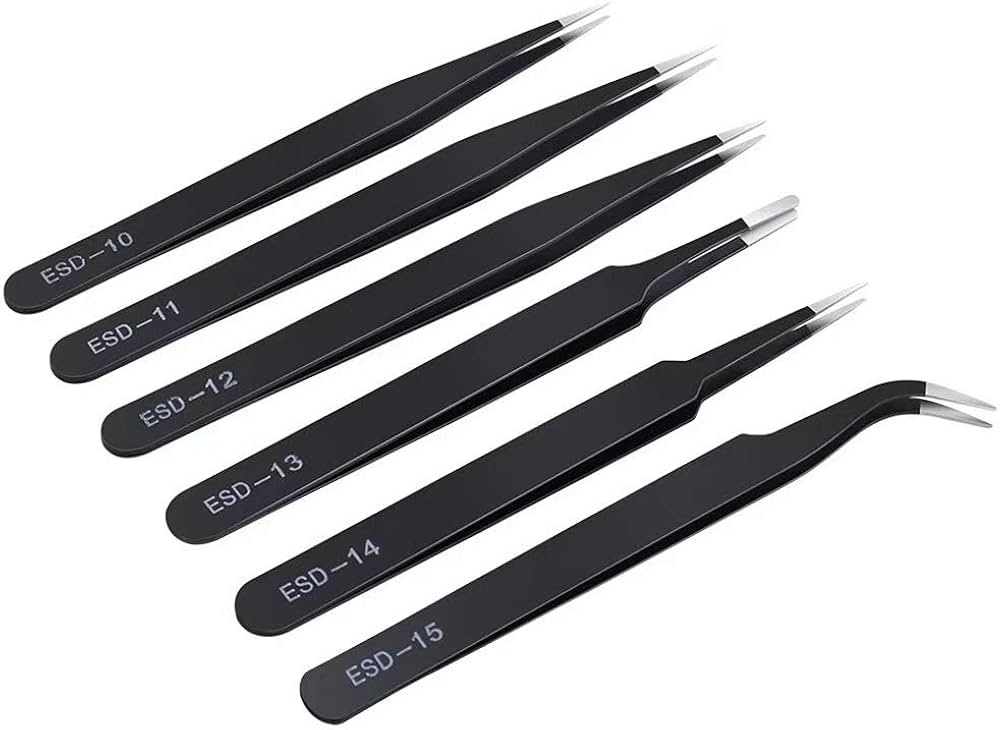
Tweezers: A must-have for positioning small pieces with accuracy.
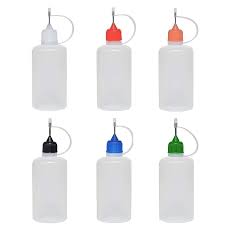
Glue with Precision Nozzles: Prevents messy glue spots.
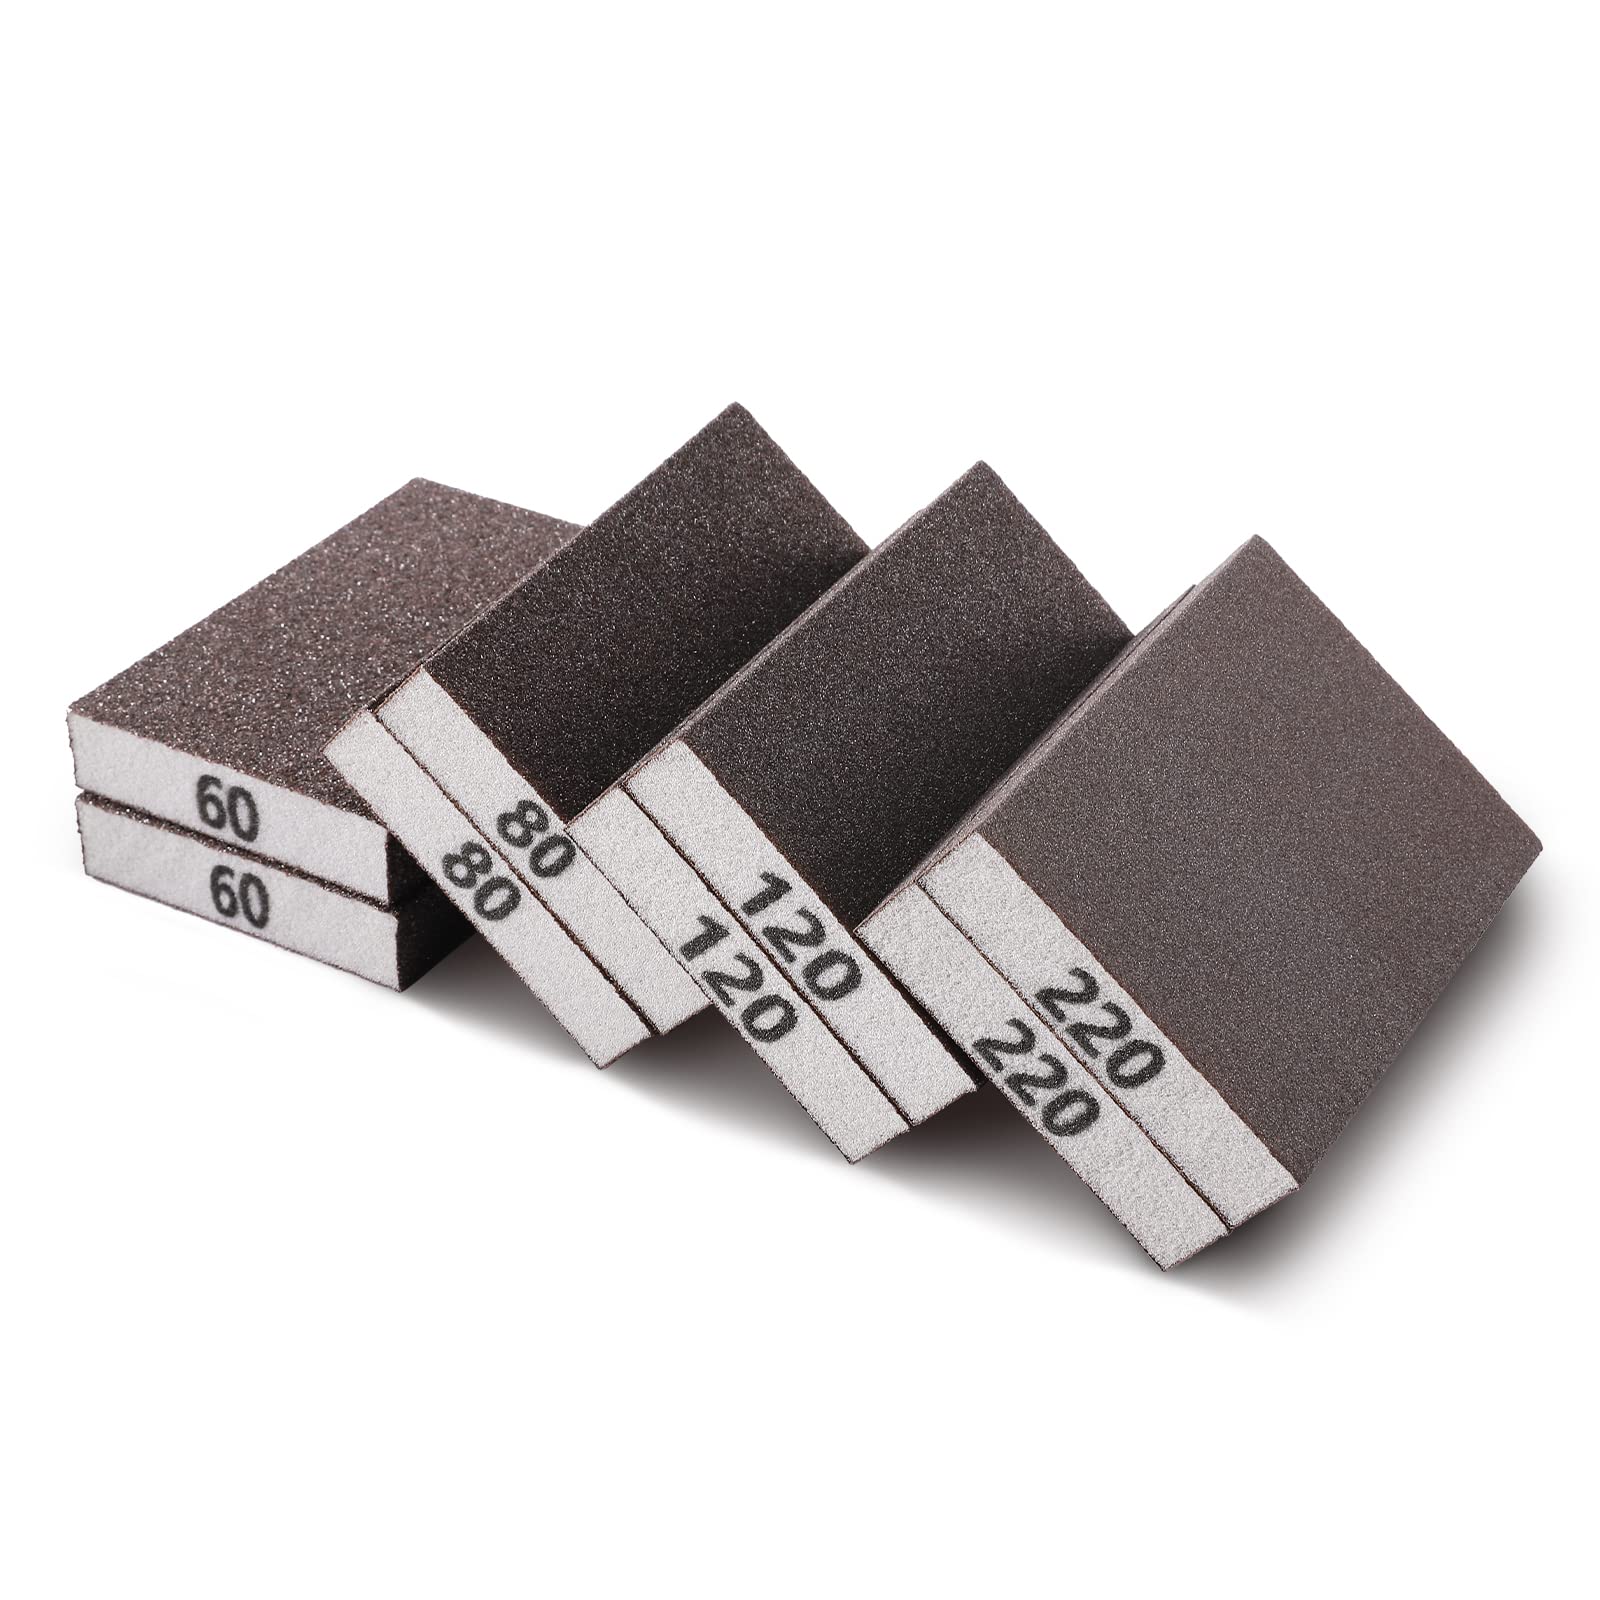
Sanding Blocks: For smoothing edges and achieving perfect finishes.
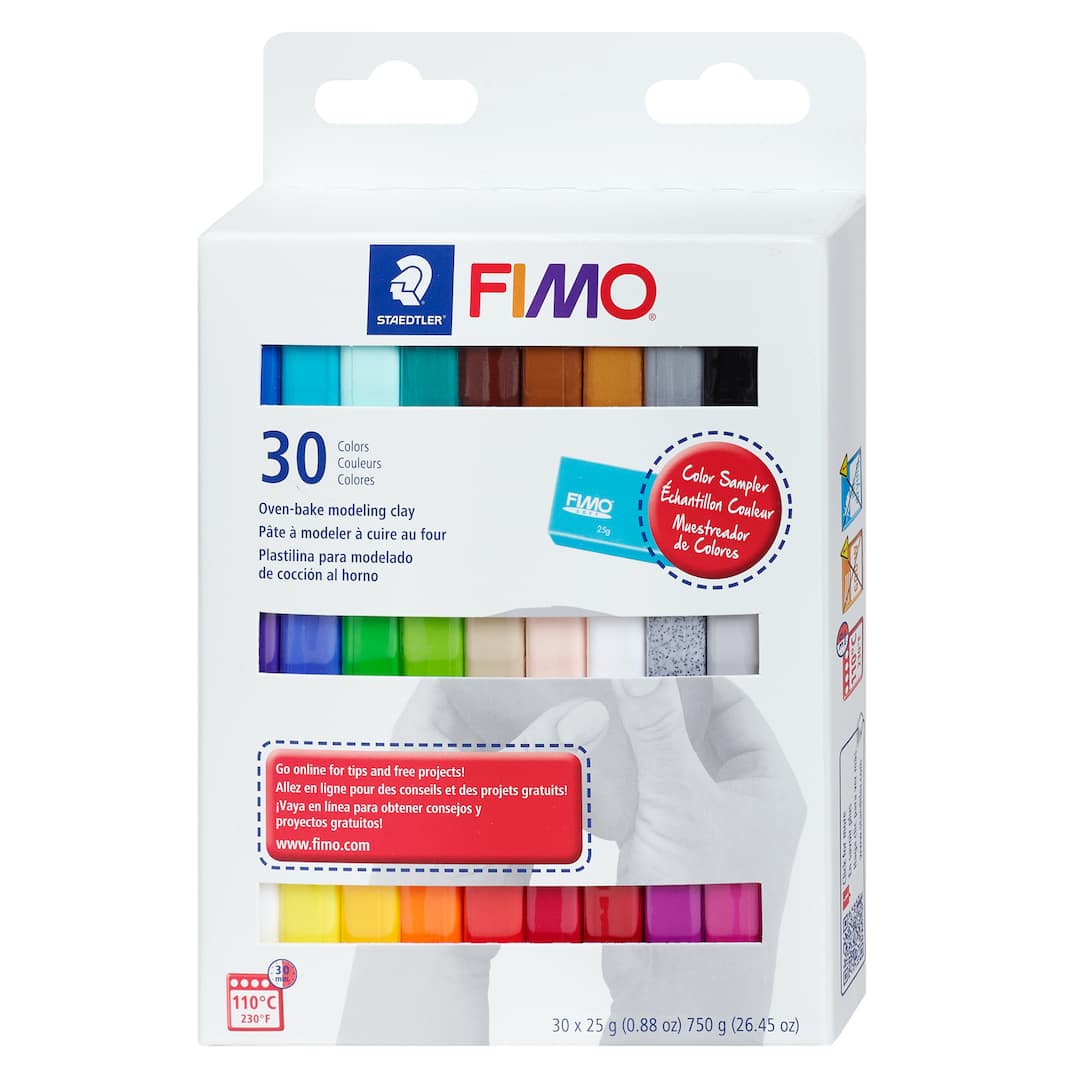
Polymer Clay: A versatile medium for creating anything from food to furniture.
Additional Tips for Crafting Miniature Dollhouse Accessories
Work in Well-Lit Areas: Proper lighting helps you see details clearly and prevents eye strain.
Practice Patience: Mastery takes time. Don’t rush projects; enjoy the process.
Store Supplies Neatly: A clutter-free workspace keeps you focused and inspired.
Common Mistakes to Avoid
Ignoring Proportions: Even minor scale mismatches can disrupt the realism.
Using Excess Glue: Visible glue spots can ruin the illusion of your miniature.
Skipping Practice: Always test new techniques on scraps before applying them to your project.
Crafting miniature dollhouse accessories is both an art and a science. With the right techniques and tools, you can create accessories that captivate and inspire. Remember, the magic lies in the details—and with practice, you can master them all.
Ready to take your skills to the next level? The MINI MEMBERSHIP might be a good fit for you! Gain access to monthly SVG files, step-by-step tutorials, and a supportive community of miniaturists.

