How to Create Miniature Furniture with Cricut SVG Files
Are you looking to add a personal touch to your dollhouse décor? Whether you're a seasoned miniaturist or a beginner, using Cricut machines and SVG files can elevate your miniature furniture game to a whole new level. This step-by-step guide will walk you through the process of designing and crafting custom miniature furniture pieces that will make your dollhouse look like it's straight out of a Pinterest board. Ready to get started? Let’s dive in!
Step 1: Gather Your Materials
Before you begin, you'll need to gather all your supplies. Here's what you'll need:
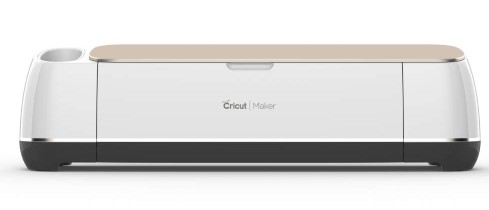
Cricut machine (any model that supports cutting with SVG files)

Cricut-compatible cutting mat
Premium cardstock or other sturdy materials for your furniture pieces
Cricut Design Space software
Cricut SVG files for miniature furniture (find them in our Mini Membership for exclusive designs)
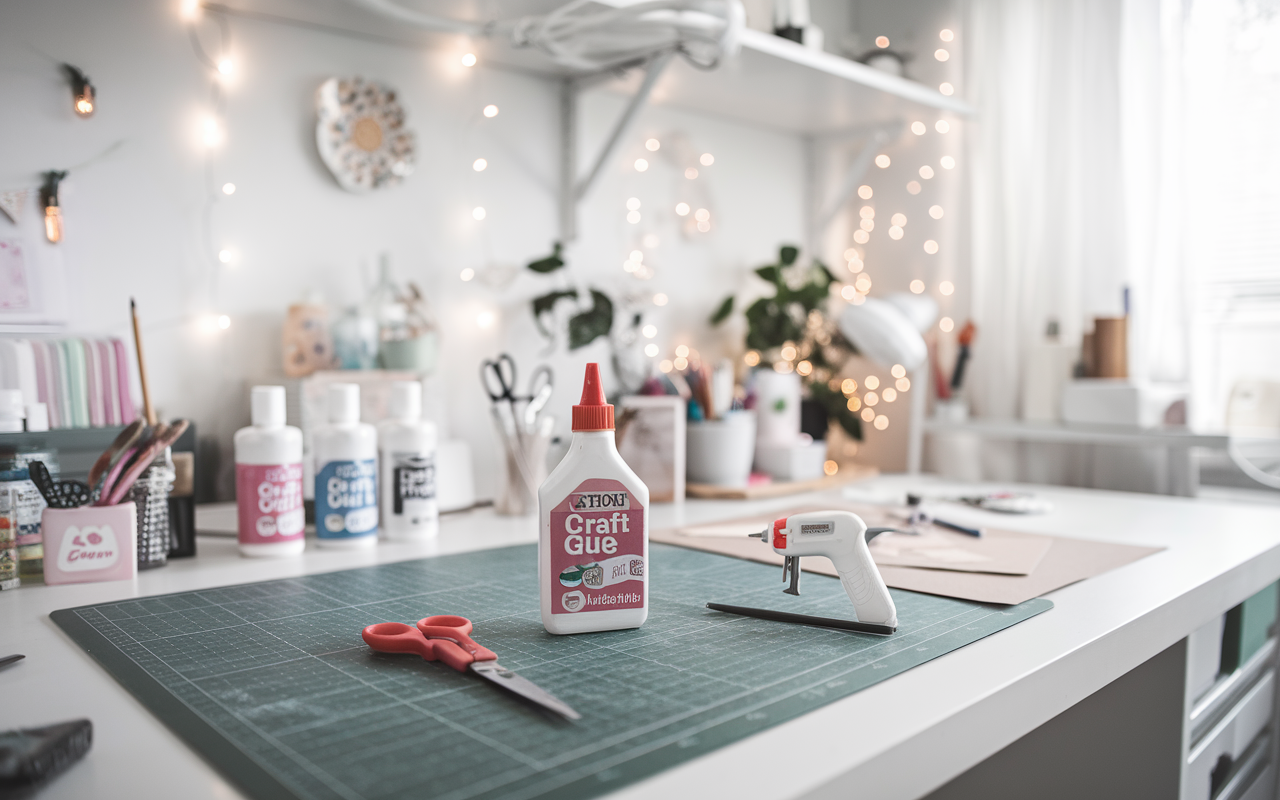
Scissors, glue, or a glue gun
Once you have everything in place, you're ready to move on to designing your pieces.

Step 2: Choose or Design Your Cricut SVG Furniture Patterns
The next step is selecting the right SVG files for your miniature furniture. If you're part of our Mini Membership, you'll have access to a wide variety of SVG files, including intricate designs for tables, chairs, bookshelves, and more. If you're a beginner, start with simple shapes and gradually work your way up to more complex designs.
In Cricut Design Space, you can either upload pre-made SVG files or design your own. Once your file is ready, adjust the size to fit your dollhouse scale. For instance, a standard chair may need to be resized to fit a 1:12 scale dollhouse.
Step 3: Prepare Your Cricut Machine
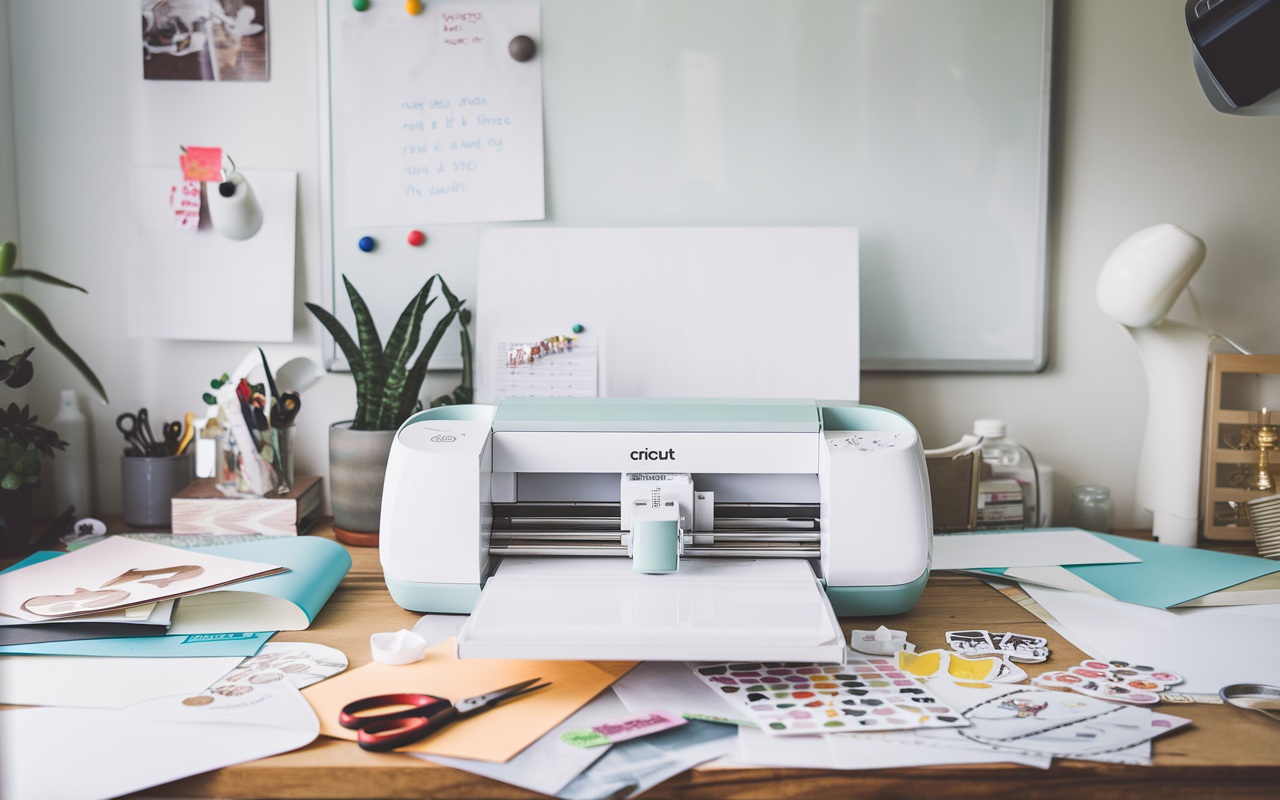
Now that your design is ready, it's time to set up your Cricut machine. Insert the cutting mat into your machine, load your material, and adjust the cutting settings in Cricut Design Space. Make sure you select the correct material settings, whether you’re cutting cardstock, balsa wood, or any other material suitable for your furniture.
Pro Tip: For cleaner cuts, use a stronger grip mat when working with thicker materials like balsa wood.

Step 4: Cutting Your Miniature Furniture Pieces
Once everything is set up, hit "Go" in Cricut Design Space to start the cutting process. Your Cricut machine will precisely cut out each piece of your furniture design. Be sure to keep an eye on the machine as it works to ensure everything is cutting as expected.
After the cutting is complete, carefully remove the pieces from the cutting mat. Some delicate designs may need to be gently pried out with a craft knife or tweezers.
Step 5: Assemble the Furniture
Now comes the fun part – assembly! Using your glue or glue gun, carefully piece together your miniature furniture. For example, if you're assembling a chair, start by attaching the legs to the base, then work your way up to the backrest and seat. Make sure to hold each part in place until the glue sets.
Tip: For a more polished look, you can paint or stain your furniture after assembly. This adds an extra layer of detail that will make your pieces stand out in your dollhouse.
Ready to take your miniature projects to the next level? With access to exclusive Cricut SVG files and expert tutorials, our Mini Membership will provide you with everything you need to create stunning dollhouse furniture with ease.
Additional Tips
Accuracy is Key: Take your time while measuring and adjusting the size of your designs. Even small discrepancies can result in furniture that doesn’t fit correctly in your dollhouse.
Experiment with Materials: Try using different materials for unique textures, such as felt for cushions or thin wood for more realistic, durable furniture.
Patience: Miniature furniture creation takes time. Don’t rush the process, and ensure each piece is glued securely for durability.
Creating custom miniature furniture with Cricut SVG files is an exciting and rewarding way to add a personal touch to your dollhouse. By following these steps and using the right materials, you'll be able to craft stunning pieces that bring your miniature world to life.
If you're looking for more designs and exclusive tips to make your creations even easier, Are you looking for some extra support and inspiration? In the Mini Membership you gain access to a growing collection of SVG files, tutorials, and community support that will guide you through every project.
Happy crafting, and enjoy making your dream dollhouse a reality!


